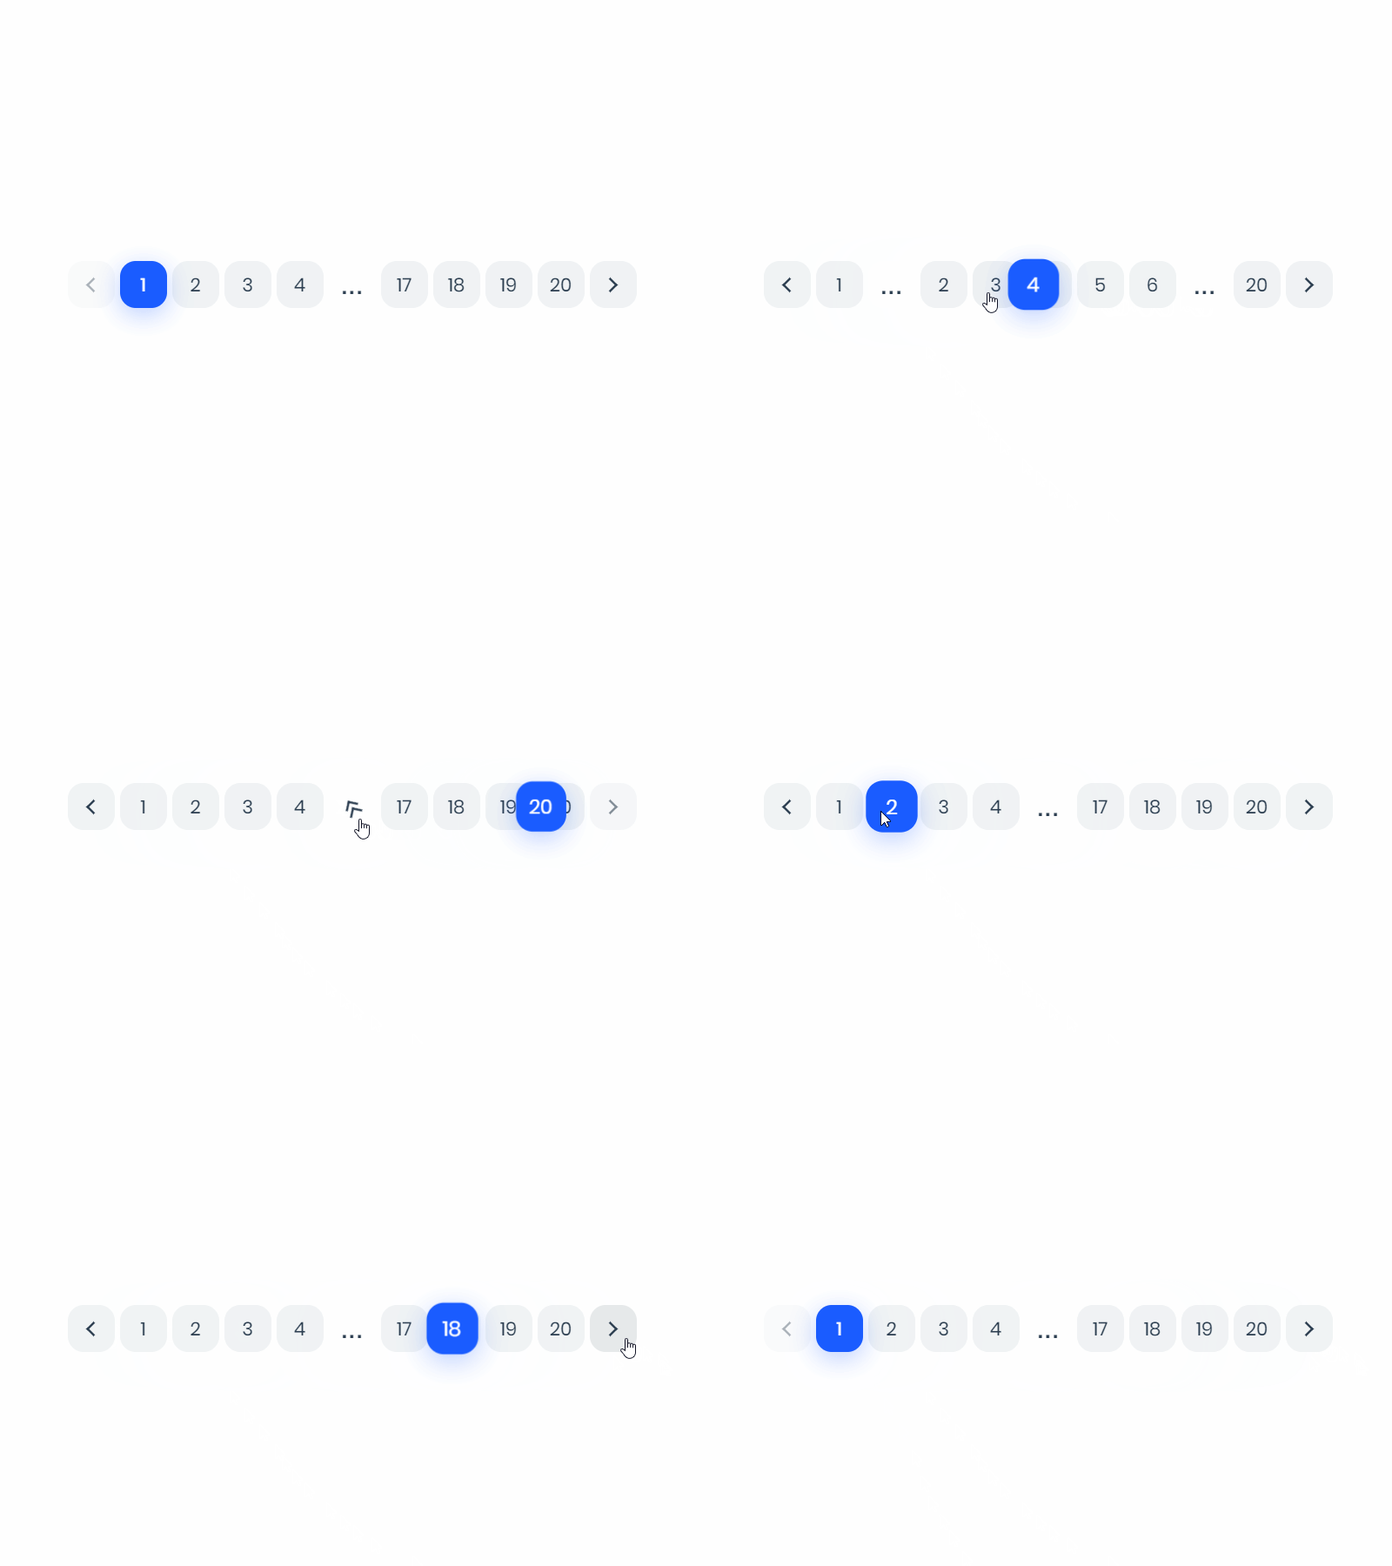
Pagination이란?
모든 데이터를 한번에 받아 클라이언트에 응답한다면 데이터가 많으면 많을수록 엄청난 과부하가 오게 될 것이다.
그러한 상황을 방지하기 위한 기술이 Pagination이다. 이름에서 알 수 있듯 데이터를 DB에서 '나눠서' 가져오며 클라이언트에 응답하는 기술이다.
Offset Based Pagination 이란?

커뮤니티나 채용사이트를 보면 페이지별로 N개의 게시글만큼 데이터를 가져오고 나눠놓은 것을 종종 볼 수 있다.
이러한 방식을 'Offset Based Pagination' 혹은 'Page Based Pagination' 이라고 한다.
Cursor Based Pagination 이란?

Cursor Based Pagination은 데이터를 페이지별로 나누지 않고, 사용자가 가져온 마지막 데이터를 기점으로 다음 데이터들을 불러오는 방식이다.
사용자가 가져온 마지막 데이터라는 것은 DB에서 불러온 데이터들의 마지막 데이터이며, 이 데이터를 기점으로 다음 데이터들을 불러올 수 있게 된다.
흔히 채용사이트 중 '원티드'를 예로 들 수 있다.
랜덤 데이터 생성 로직 구현
async generatePosts(userId: number) {
    for(let i = 0; i < 100; i++) {
      await this.createPost(userId, {
        title: `임의로 생성된 포스트 제목 ${i}`,
        content: `임의로 생성된 포스트 내용 ${i}`,
      });
    }
  }
Service에 위와 같이 포스트를 100개 만드는 로직을 구현한다.
  @Post('random')
  @UseGuards(AccessTokenGuard)
  async postPostsRandom(
    @User('id') userId: number,
  ) {
    await this.postsService.generatePosts(userId);
    return true;
  }
Controller 는 위와 같이 구현한다. userId 는 PK로 자동으로 증가한다.

생성 후 DB로 확인할 수 있다.
getPosts() 컨트롤러 수정하기
  @Get()
  getPosts(
    @Query() query: PaginatePostDto,
  ) {
    return this.postsService.paginatePosts(query);
  }
기존과 다르게 데코레이터를 Body가 아닌 Query로 받도록 수정한다.
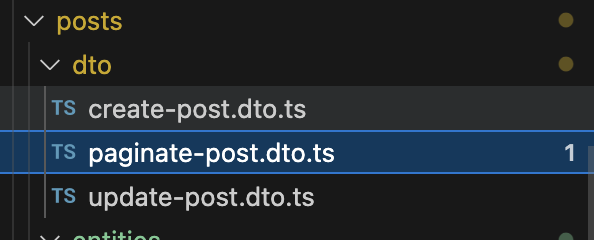
PaginationPostsDto 생성하기

import { IsIn, IsNumber, IsOptional } from "class-validator";

export class PaginatePostDto {
    @IsNumber()
    @IsOptional()
    page?: number;

    @IsNumber()
    @IsOptional()
    where__id_less_than?: number;
    /**
     * 이전 마지막 데이터의 ID
     * 이 프로퍼티에 입력된 ID 보다 높은 ID 부터 값을 가져오기
     */
    @IsNumber()
    @IsOptional()
    where__id_more_than?: number;

    @IsIn(['ASC', 'DESC'])
    @IsOptional()
    // eslint-disable-next-line @typescript-eslint/prefer-as-const
    order__createdAt: 'ASC' | 'DESC' = 'ASC';

    // 몇 개의 데이터를 받을지
    @IsNumber()
    @IsOptional()
    take: number = 20;
}
- page
- Page Based Pagination(혹은 Offset Based Pagination) 에서 사용된다.
- 쿼리에서 page로 값을 숫자로 입력했을 때 받는다.
- 화면상 page를 의미한다.
- where__id_less_than, where__id_more_than
- Cursor Based Pagination에 사용된다.
- LessThan과 MoreThan 유틸리티에 사용되는 ID값
- 해당 값이 데이터의 마지막 데이터의 Unique값(혹은 ID)가 된다.
- order__createdAt
- 오름차순 혹은 내림차순을 지정하는 값
- take
- 몇 개의 데이터를 가져오는지에 대한 값
Type Decorator 사용하기
import { Type } from "class-transformer";

@Type(() => Number)
@IsNumber()
@IsOptional()
page?: number;
쿼리로 값을 받아오면 URL을 분해해서 가져오기 때문에 모든 값은 String으로 가져오게 되어 에러가 발생한다.
이를 해결하는 것은 Type Decorator인데 @Type(() => Number)와 같은 데코레이터를 작성해주면 된다.
Implicit Conversion 적용하기
그러나 해당 Dto는 모든 값을 쿼리로 받아오기 때문에 전부 @Type 데코레이터를 붙여주는 것은 매우 불편하다. 이를 해결한 Implicit Conversion라는 방법이 있다.
import { NestFactory } from '@nestjs/core';
import { AppModule } from './app.module';
import { ValidationPipe } from '@nestjs/common';

async function bootstrap() {
  const app = await NestFactory.create(AppModule);

  app.useGlobalPipes(new ValidationPipe({
    transform: true,
    transformOptions: {
      enableImplicitConversion: true,
    }
  }));

  await app.listen(process.env.PORT ?? 3000);
}
bootstrap();
main.ts 에 위와 같이 작성한다.
app.useGlobalPipes(new ValidationPipe({
    transform: true,
    transformOptions: {
      enableImplicitConversion: true,
    }
  }));
수정된 부분은 useGlobalPipes 내의 transformOptions 부분이고 enableImplicitConversion을 true로 변경한다.
@IsNumber()
@IsOptional()
page?: number;
enableImplicitConversion 를 true로 한다는 것은 @IsNumber()와 같은 Class Validator로 타입을 체크할 때, 해당되는 타입일 경우 자동으로 변환하는 것을 허용해주는 것이다.
Offset Based Pagination 구현해보기
async paginatePosts(dto: PaginatePostDto) {
    if(dto.page) {
      return this.pagePaginatePosts(dto);
    } else {
      return this.cursorPaginatePosts(dto);
    }
  }
쿼리에 page 가 있을 경우엔 Page Based Pagination이 실행되도록 위와 같이 Service를 작성한다.
async pagePaginatePosts(dto: PaginatePostDto) {
    const [posts, count] = await this.postsRepository.findAndCount({
      skip: dto.take * ((dto.page ?? 1) - 1),
      take: dto.take,
      order: {
        createdAt: dto.order__createdAt,
      }
    });

    return {
      data: posts,
      total: count,
    }
  }
Page Based Pagination은 위와 같이 구현한다.
우선 findAndCount는 Data[]와 Count를 반환한다.
skip: dto.take * ((dto.page ?? 1) - 1),이 부분이 offset에 해당되며 '가져올 개수 * (페이지번호 - 1)' 로 어느 범위만큼 skip(넘어갈지) 정할 수 있다.

비교적 간단하게 구현할 수 있다.
Cursor Based Pagination 구현해보기
  async cursorPaginatePosts(dto: PaginatePostDto) {
    const where: FindOptionsWhere<PostsModel> = {}

    if(dto.where__id_less_than) {
      where.id = LessThan(dto.where__id_less_than);
    } else if(dto.where__id_more_than) {
      where.id = MoreThan(dto.where__id_more_than);
    }

    const posts = await this.postsRepository.find({
      where,
      order:{
        createdAt: dto.order__createdAt,
      },
      take: dto.take,
    });

    /**
     * 해당되는 포스트가 0개 이상이면
     * 마지막 포스트를 가져오고
     * 아니면 null을 반환한다.
     */
    const lastItem = posts.length > 0 && posts.length === dto.take ? posts[posts.length - 1] : null;

    const nextURL = lastItem && new URL(`${PROTOCOL}://${HOST}/posts`);

    if(nextURL) {
      for(const key of Object.keys(dto)) {
         if(dto[key]) {
          if(key !== 'where__id_more_than' && key !== 'where__id_less_than') {
            nextURL.searchParams.append(key, dto[key]);
          }
         }
      }

      let key: string | null = null;

      if(dto.order__createdAt === 'ASC') {
        key = 'where__id_more_than';
      } else {
        key = 'where__id_less_than';
      }

      nextURL.searchParams.append(key, lastItem.id.toString());
    }

    /**
     * Response
     *
     * data: Data[],
     * cursor: {
     *  after: 마지막 Data의 ID
     * },
     * count: 응답한 데이터의 개수,
     * next: 다음 요청에 사용할 URL
     */

    return {
      data: posts,
      cursor: {
        after: lastItem?.id ?? null,
      },
      count: posts.length,
      next: nextURL?.toString() ?? null,
    }
  }
Cursor Based Pagination은 Page Based Pagination 보다 좀 더 복잡하다.
const where: FindOptionsWhere<PostsModel> = {}

if(dto.where__id_less_than) {
  where.id = LessThan(dto.where__id_less_than);
} else if(dto.where__id_more_than) {
  where.id = MoreThan(dto.where__id_more_than);
}

const posts = await this.postsRepository.find({
  where,
  order:{
    createdAt: dto.order__createdAt,
  },
  take: dto.take,
});
우선 find함수 계열에서 where는 FindOptionsWhere<T> 타입을 참조하므로 위와 같이 작성될 수 있다.
const lastItem = posts.length > 0 && posts.length === dto.take ? posts[posts.length - 1] : null;lastItem은 find로 불러온 posts가 1개 이상이어야 하며, posts의 길이와 take(20개)가 같은 경우 마지막 아이템을 가져온다.
posts가 1개 이상 그리고 posts의 길이와 take(20개)가 같은 경우는 다음 불러올 아이템이 있기 때문에 lastItem을 불러오는 것이다.
const nextURL = lastItem && new URL(`${PROTOCOL}://${HOST}/posts`);

if(nextURL) {
  for(const key of Object.keys(dto)) {
     if(dto[key]) {
      if(key !== 'where__id_more_than' && key !== 'where__id_less_than') {
        nextURL.searchParams.append(key, dto[key]);
      }
     }
  }
nextURL은 다음 쿼리의 URL로 만들어 다음 아이템들을 가져올 수 있게하는 URL이다.
'http://localhost:3000/posts?order__createdAt=ASC&take=20&where__id_more_than=0'예를 들어 처음 아이템 20개를 불러오면 위와 같이 쿼리를 입력해서 서버로 호출하면 서버에서는 해당 쿼리를 분해하여 값을 설정하기 때문에, 이러한 다음 쿼리를 만드는 것이 nextURL이다.
for loop은 dto의 Key값들을 순회하면서 dto[key]가 'where__id_more_than' 혹은 'where__id_less_than'이 아닌 경우에만 본래의 값을 넣어준다.
그렇게 해주는 이유는 변경되는 값이 아니기 때문이다. (take 같은 것은 설정한 그대로여야 하기 때문)
let key: string | null = null;

if(dto.order__createdAt === 'ASC') {
key = 'where__id_more_than';
} else {
key = 'where__id_less_than';
}

nextURL.searchParams.append(key, lastItem.id.toString());'http://localhost:3000/posts?order__createdAt=ASC&take=20&where__id_more_than=0'URL에 마지막에 where__id_more_than과 같은 값이 들어가야하므로 위와 같은 코드를 작성한다.
return {
      data: posts,
      cursor: {
        after: lastItem?.id ?? null,
      },
      count: posts.length,
      next: nextURL?.toString() ?? null,
    }
반환을 위와 같이 하면 최종적으로 완료된다. next에 적용된 URL을 누르면 다음 포스트들 (20개)를 가져오게 된다.

'NestJS' 카테고리의 다른 글
| [NestJS] Config 모듈 사용하기 (0) | 2025.03.05 |
|---|---|
| NestJS - Pagination 심화 (일반화하기) (0) | 2025.03.05 |
| NestJS - Class Transformer (0) | 2025.02.28 |
| NestJS - Class Validation과 DTO (0) | 2025.02.28 |
| Postman 심화기능 (0) | 2025.02.27 |


